
A brass fitting that leaks at assembly has already cost far more than the few rupees it took to inspect it on arrival. Incoming inspection is the cheapest place in the supply chain to catch a problem: the parts are still in their box, the batch is still traceable, and the supplier still has time to react before the line stops.
This guide sets out a practical incoming inspection plan for precision brass components — what to check, how many to check, and what to do when a lot fails.
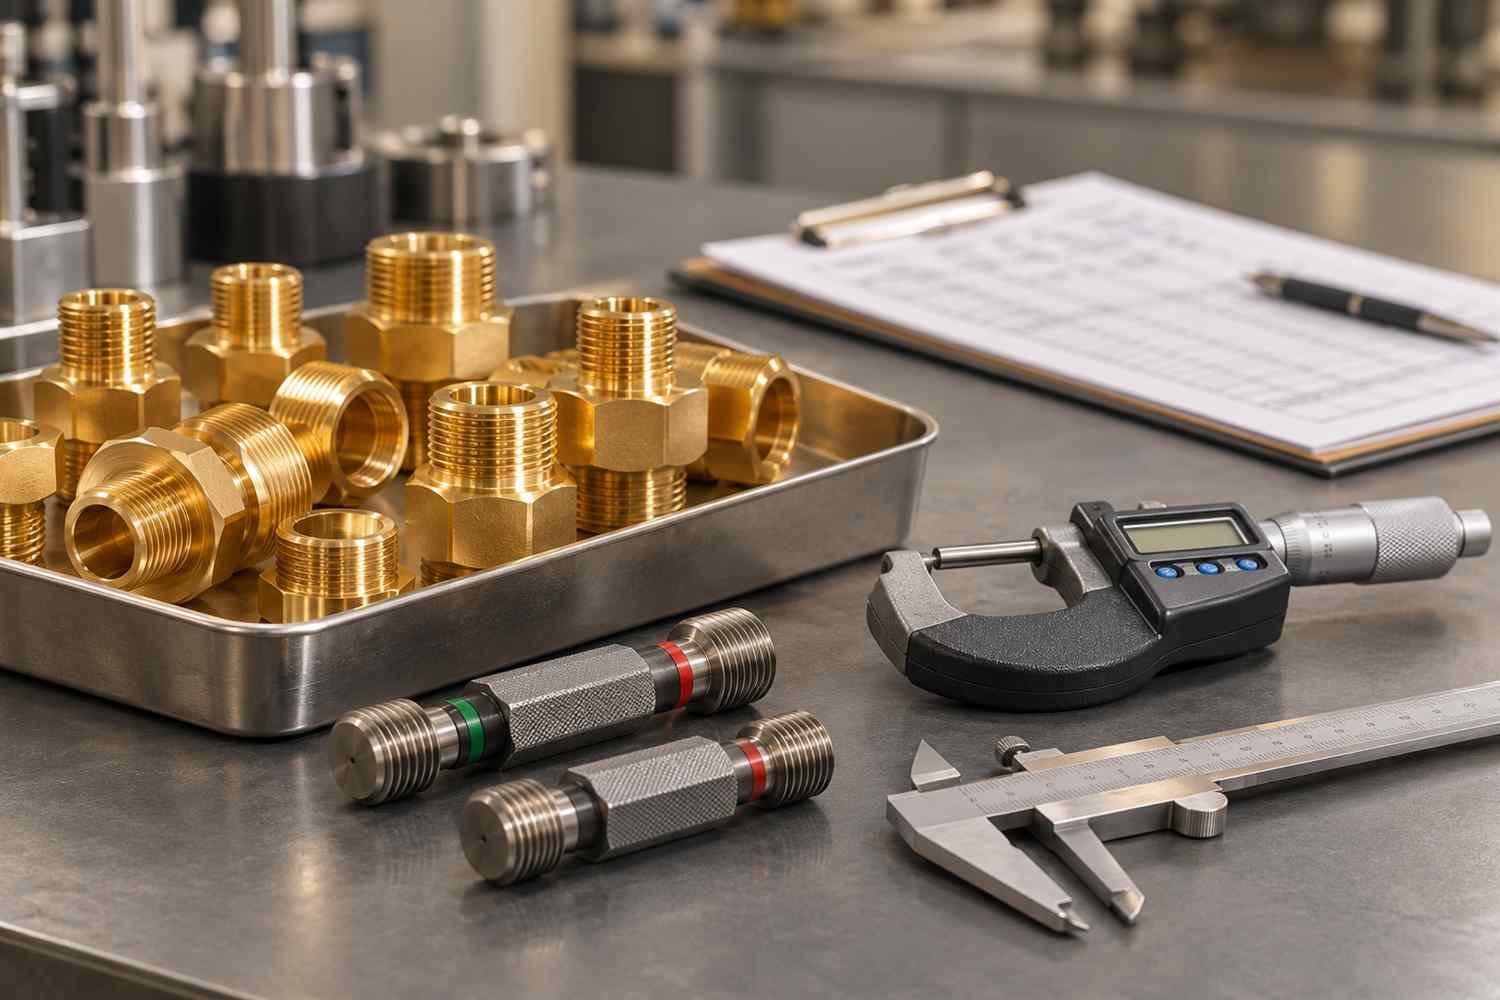
Why incoming inspection earns its cost
Defects found at incoming cost the price of a replacement lot. The same defect found after machining, plating, assembly or a leak test costs rework, scrap, line downtime and sometimes a customer concession. A measured sampling plan turns inspection from a feeling into a number: you know what you accepted, on what evidence, and with what risk.
It also protects the supplier relationship. A lot rejected against a written plan and a clear defect classification is a technical conversation. A lot rejected on opinion is an argument.
Start with the drawing, the control plan and the defect list
Inspection cannot be stricter than the specification, and it should not be looser. Three documents drive the plan:
- The drawing — every dimension, tolerance, thread callout, material and finish note.
- The control plan — which features the supplier monitors, at what frequency, with what method.
- The defect list — the failure modes this part family has actually produced: short threads, burrs in a bore, plating blister, wrong alloy, cracked hex flats.
If a dimension is not on the drawing, it cannot be a rejection reason. If a failure mode is not on the list, reviewers tend to miss it in the sample.
What to check on a brass component
Dimensional features
Check the features that mate: diameters, lengths, shoulder positions, bore depth, chamfer and the position of cross-holes. Use the tolerances and surface finish guide to separate critical from cosmetic dimensions so the sample is not spent measuring things that do not matter.
Threads
Threads deserve their own line in the plan. Verify form and gauge fit with GO/NO-GO plug or ring gauges, check thread length to the last full thread, and confirm the standard against the drawing — a BSP male and an NPT male are not interchangeable. Our thread standards guide covers the common callouts in detail.
Material and hardness
Confirm the alloy on the mill certificate, not on the label. Check the certificate against the purchase order: UNS number, temper, heat or lot number, and chemical composition. Hardness matters where the part is crimped, staked or threaded under load, so add a periodic hardness check if the drawing specifies it.
Surface and plating
Look for tool marks deeper than the drawing allows, laps, cracks at hex corners, stains and residual oil. On plated parts, check coverage on edges and inside recesses, adhesion, blistering and colour match against a master sample, plus plating thickness if specified. The plating and corrosion guide explains which checks belong to which finish.
Cleanliness and burrs
Burrs are the most common cause of a good dimension failing at assembly. Inspect bores, cross-hole intersections and thread ends. Verify that chips have been cleared, especially in blind holes, and that cleaning has removed cutting oil where the customer specification requires it.
Function checks
Where the part has a function, test the function: gauge a taper, assemble a mating pair, check a valve seat, confirm a torque-to-failure sample if the application is safety-related. A functional check catches combinations of small dimensional deviations that no single measurement reveals.
AQL sampling without guesswork: ISO 2859-1 in plain terms
Attribute sampling to ISO 2859-1 (the basis of the old MIL-STD-105E tables) answers one question: from a lot of this size, how many pieces do I inspect, and how many defectives mean I reject? Two settings do most of the work:
- Inspection level — Level II is the normal default. Level I samples less and suits low-risk parts; Level III samples more and suits safety or high-value parts.
- AQL — the acceptable quality limit, expressed as a percentage of nonconforming pieces. AQL 1.0 is a common starting point for major defects; critical defects are usually inspected 100%.
For a lot of 1,200 pieces at Level II and AQL 1.0, the sample is 125 pieces and the lot is accepted at three or fewer defectives. The table below shows the same plan across common lot sizes.
| Lot size | Sample size | Accept | Reject |
|---|---|---|---|
| 151–280 | 32 | 1 | 2 |
| 281–500 | 50 | 1 | 2 |
| 501–1,200 | 80 | 2 | 3 |
| 1,201–3,200 | 125 | 3 | 4 |
| 3,201–10,000 | 200 | 5 | 6 |
| 10,001–35,000 | 315 | 7 | 8 |
Read the table as a contract with yourself: if the sample contains the reject number, the lot is rejected regardless of how good the rest looks. Sampling only works when the rule is followed.
Classify defects before you sample
The AQL applies per defect class, so the classes must be defined up front.
| Class | Meaning | Typical handling |
|---|---|---|
| Critical | Unsafe or illegal; affects a regulated function | 100% inspect, zero acceptance |
| Major | Prevents function, causes leak or assembly failure | AQL 0.65–1.0 |
| Minor | Cosmetic or non-functional deviation | AQL 1.5–4.0 |
Write one example of each class for the specific part. “Thread will not accept GO gauge” is a major defect on a fitting; “faint tool mark on a non-visible flat” is minor. Without examples, two inspectors classify the same part differently.
Gauges and methods that match the feature
- Thread plug and ring gauges — GO/NO-GO for thread form and size
- Micrometer and bore gauges — diameters and wall thickness
- Plug and air gauges — fast bore checks at the bench
- Optical comparator or vision system — profiles, chamfers, small features
- CMM — position, concentricity and first-article verification
- Hardness tester — where the drawing specifies it
- Salt spray — periodic verification of plated lots
Match the gauge to the tolerance, not to habit. A vernier cannot arbitrate a 0.01 mm band, and a CMM on every lot is usually money spent where sampling would do.
Writing the incoming inspection plan
- List the features to check and the method for each.
- Assign each feature a defect class.
- Set inspection level and AQL per class.
- Define the sample size from the lot size.
- Record results on a form that names the lot, certificate and inspector.
- State the accept, reject and rework rules before the first lot arrives.
Keep the plan with the part number, not with the inspector. It should survive a change of shift, a change of buyer and a change of supplier.
When a lot fails: containment, NCR and 8D
A rejection is a process, not a mood. The sequence that works:
- Contain — quarantine the lot, tag it, and check whether earlier lots from the same heat or run are affected.
- Document — raise a non-conformance report with the sample results, photographs and the gauge used.
- Notify — send the NCR to the supplier the same day, with the evidence attached.
- Correct — ask for root cause and corrective action, not a replacement promise. An 8D or a 5-Why is proportionate for a repeat defect.
- Verify — inspect the replacement lot at a tightened level, and keep it tightened until several lots pass.
The PPAP documentation guide explains how the control plan and the inspection records fit into an automotive submission.
Common mistakes buyers make
- Inspecting cosmetics with a functional AQL, then arguing about intent
- Changing sample size after seeing the result
- Accepting a mill certificate that does not match the purchase order
- Measuring threads with calipers instead of gauges
- Rejecting a lot with no written defect class behind the decision
- Skipping incoming inspection because the supplier “has ISO” — certification is a system, not a lot result
The supplier evaluation checklist covers the system side; this plan covers the lot side. Both are needed.
Frequently asked questions about brass component inspection
Do I need to inspect 100% of a lot?
Only for critical characteristics or where the process is not capable. For everything else, a defined sampling plan gives a known risk at far lower cost.
What AQL should a first order use?
Start tighter than steady state — AQL 0.65 for major defects on a first lot — then relax to 1.0 once several lots pass consistently.
Who pays for a rejected lot?
That is a commercial term, and it belongs in the purchase order before the first shipment. Most supply agreements make the supplier responsible for nonconforming material and for the freight on replacement.
Make inspection part of the quote, not an afterthought
Tell the supplier the inspection level, the AQL and the documentation you expect when you request the quote. It changes the price honestly, it removes surprises at the receiving dock, and it makes every subsequent lot comparable. Our brass CNC machining cost breakdown shows where inspection sits in the piece price, and the OEM specification checklist lists what else belongs in the RFQ.
Premi Brasscom International machines brass, copper, aluminium and stainless components at Jamnagar, India, and ships with material certificates, dimensional reports and inspection records against the agreed plan. Share your drawing, volume and inspection requirement and we will quote to that standard.